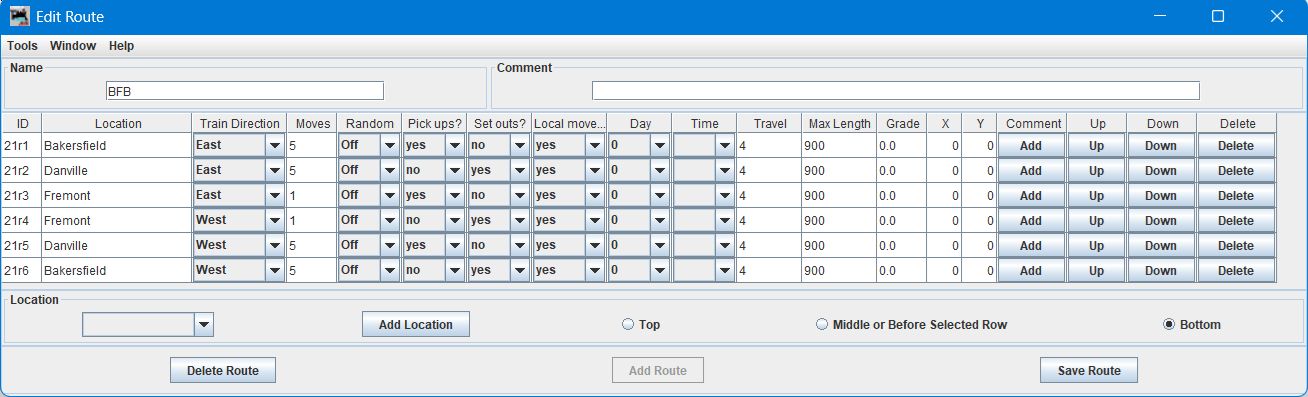
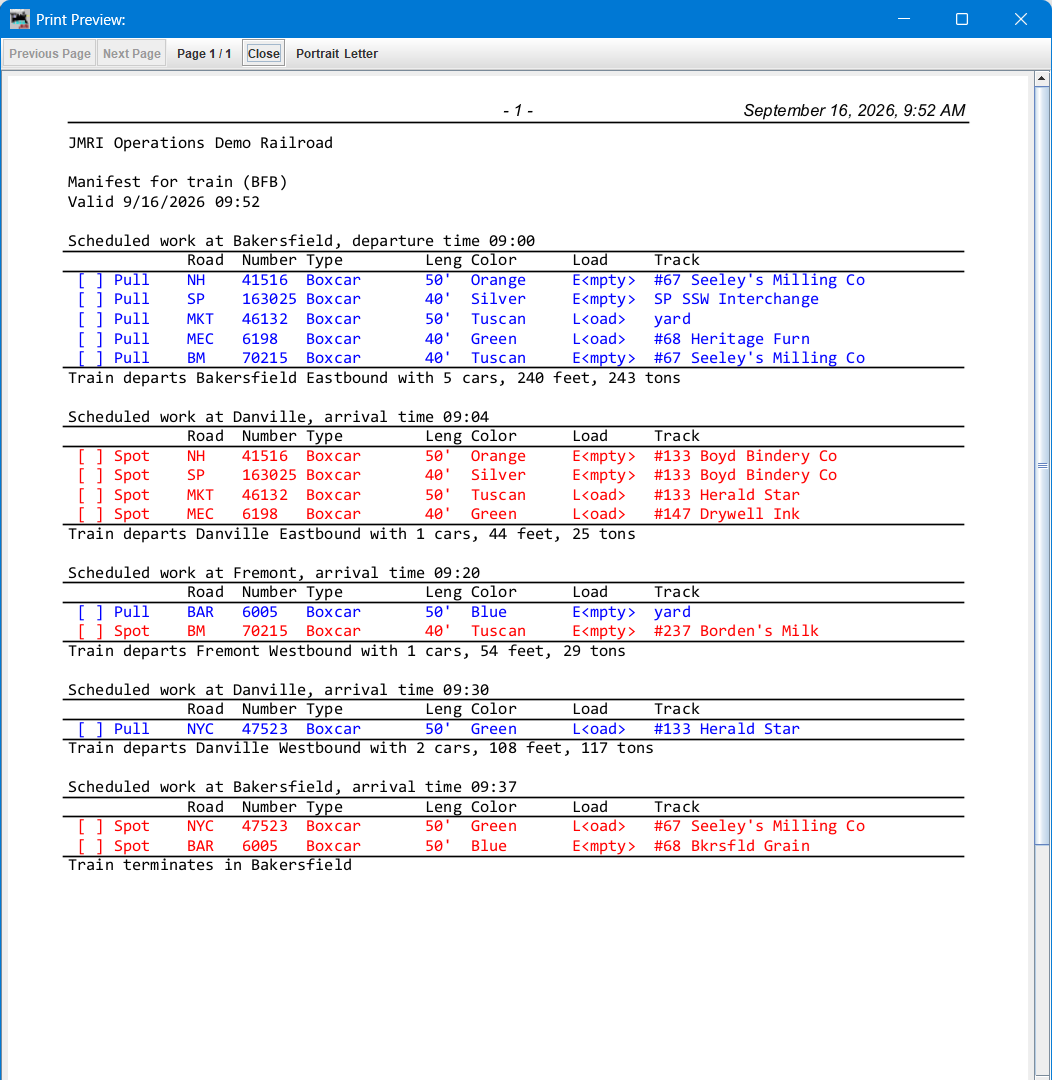
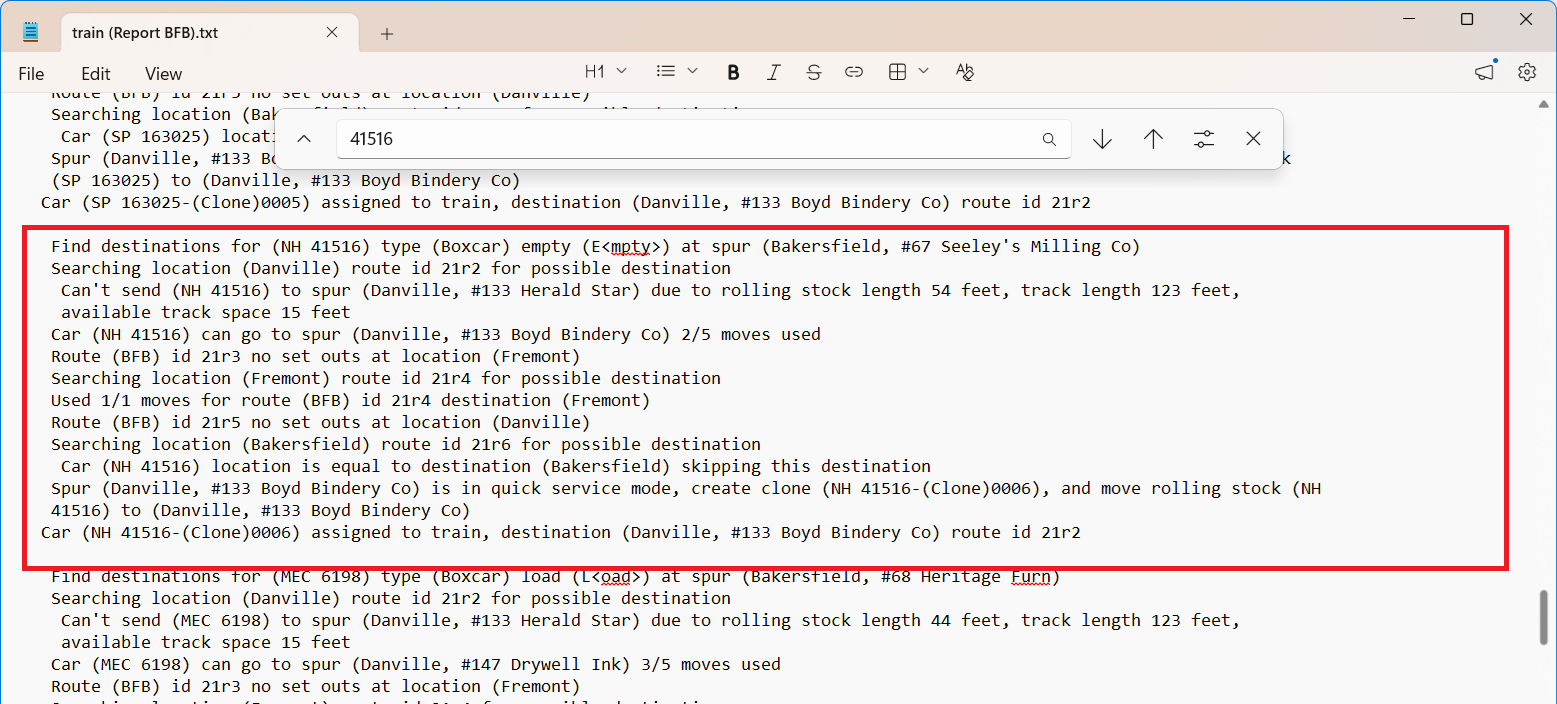
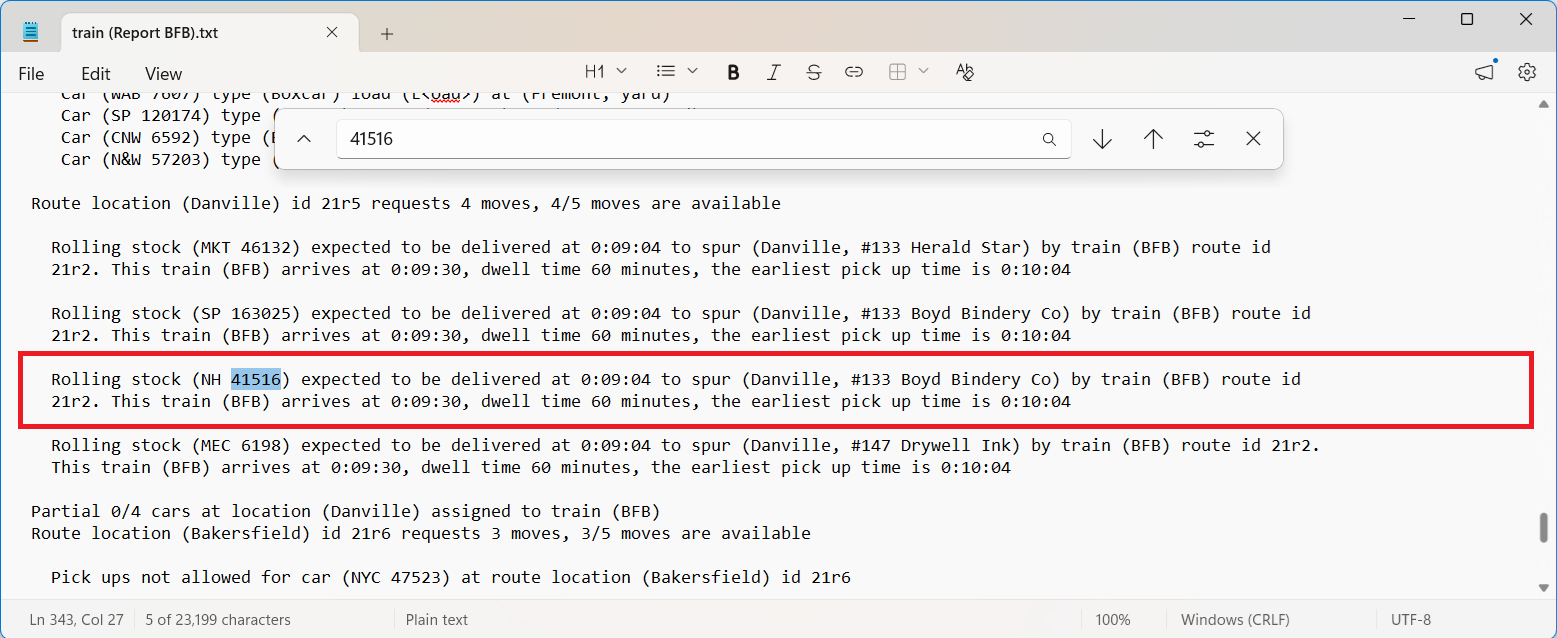
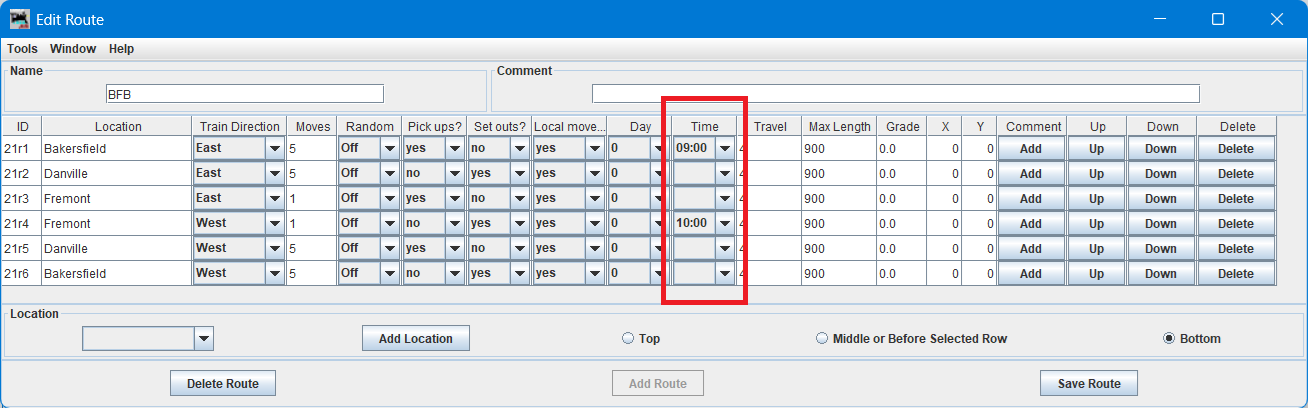
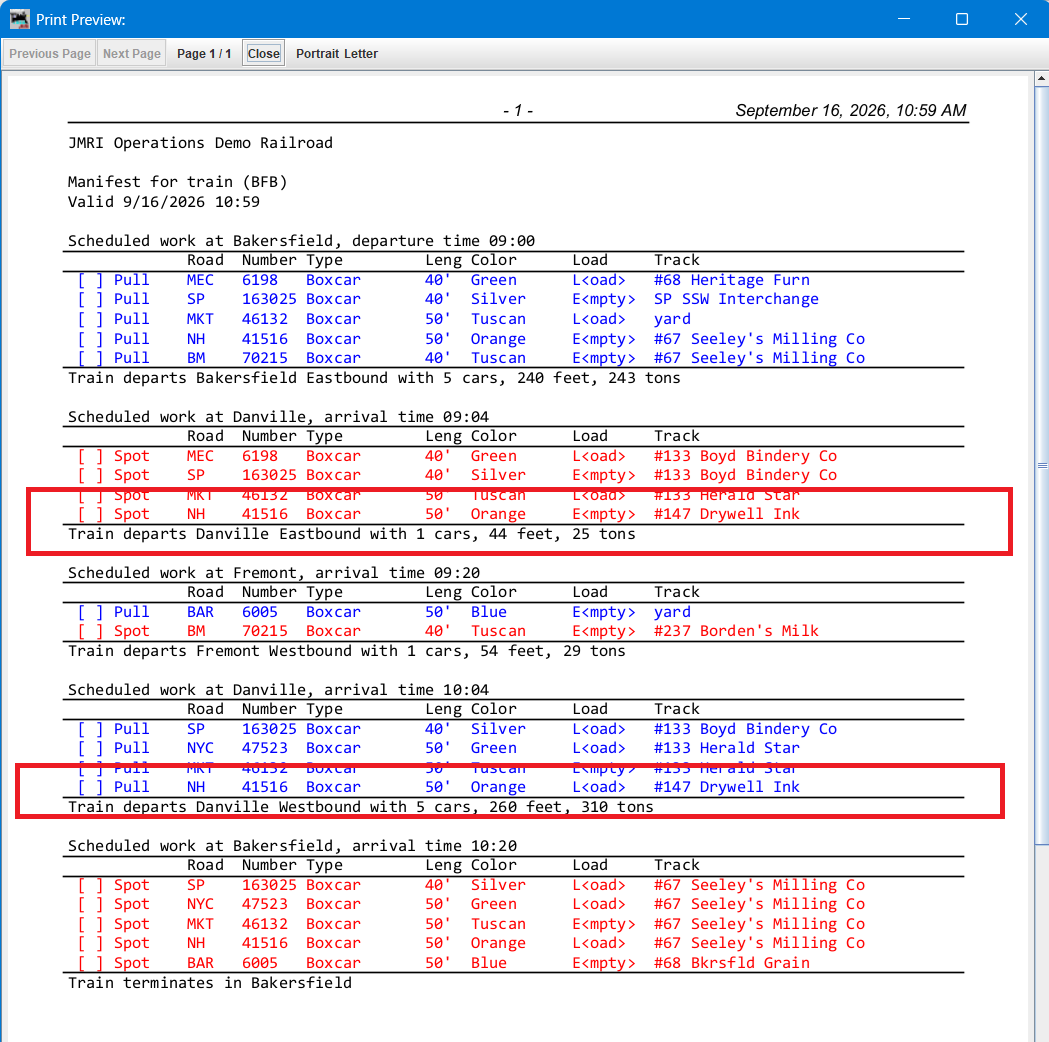
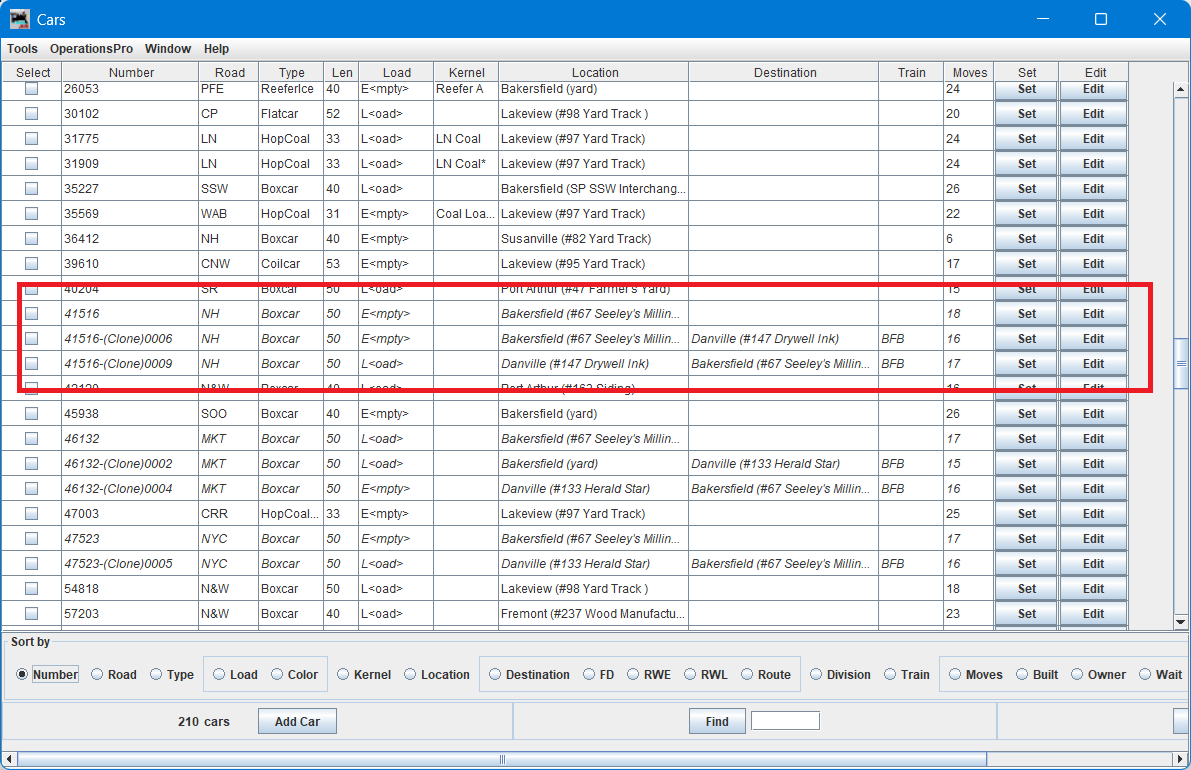
Note that train turns servicing locations on both the outbound and inbound legs, will in some cases pull the cars delivered on the outbound leg on the return leg. If the train on the return leg arrives after the cars set out time plus the dell time, those cars might be pulled based on their move counts. If the train arrives before the cars set out time plus dell time, the cars will be ignored and not pulled. To prevent pulls on the return leg, use interchange tracks, or spurs/schedules with wait times, or restrict car pick ups by train or route.
The program also prevents a car set out at a route location to be pulled by the same route location. This isn't an issue unless you use the same route for multiple trains and expect a later train using the same route to pull the car. If you want the car to be pulled, copy the route, and use the copied route for the later train.
One restriction when using On Time mode, is that trains must be built, run and terminated in chronological order. You can always run a single train to completion without conflict as long as the train departs in the order built. This is a good way to confirm how long it takes a train to complete its run. Make adjustments to the train switch time, travel time, or to the train's route to increase or decrease travel times. The closer the printed Manifest times are to the actual times the better. Having accurate times will help avoid conflicts with track space and car exchanges between trains.
Also note that if you need to reset your trains, reset the last built trains first, or use the reset all trains button.
When selecting On Time mode, a new column named "Done" in the Trains window will appear. The "Done" column shows when a built train will complete its work. This is useful when determining if a future train will have access to the the train's rolling stock. Once a train departs using the Move button, the "Done" column then shows the estimated number of days, hours and minutes it should take to complete the train's work.
To help troubleshoot timing problems with your cars using the On Time mode, it is recommended that you show the "Last Train" on your Manifests and switch lists for car pick ups. This way if a car isn't found, you'll at least know which train was supposed to drop off the car. You should also enable train, car and engine logging, and Save Train Manifests, Build Reports, and Switch Lists. Also recommended is that you use Auto Backup. This will allow the developers to reproduce any issues you encounter while using the new On Time mode of OperationsPro™.
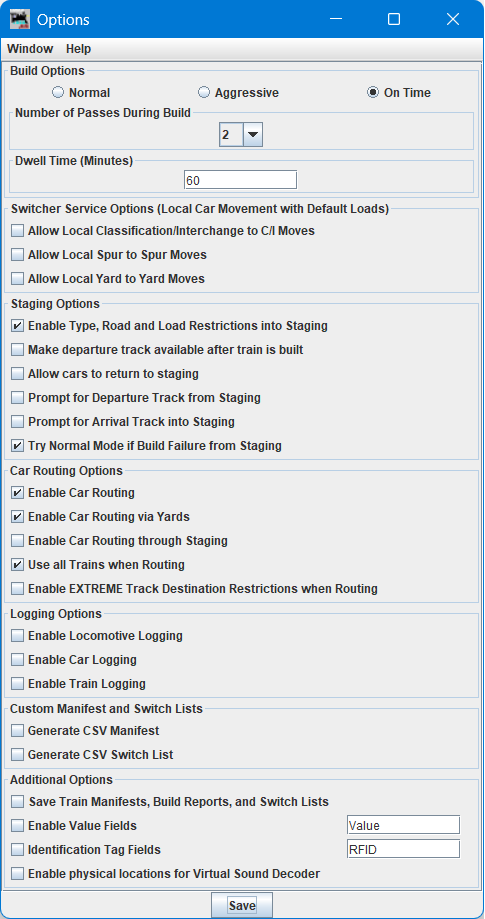
After selecting the "On Time" radio button, a text field called "Dwell Time" is enabled with a default value of 60 minutes. Dwell time is the number of extra minutes the program will use to determine when a track has available space, or when a car or locomotive is available for pick up. For example, if a car is pulled at 1:30 PM and the dwell time is 60 minutes, the track space vacated by the car is available at 2:30 PM. For car pick ups, if a car is set out at 2:10 PM and the dwell time is 60 minutes, the car can be pulled by another train at or after 3:10. You would normally set the dwell time greater than your worst operator's completion time for a train. For example, if some of your operators normally finish their runs 30 minutes late, you would set the dwell time to 30 or more minutes. Dwell time helps prevent the frustration of not having the track space or car available from a previous train delivery. However, high dwell times will cause less cars to be moved in a given time.
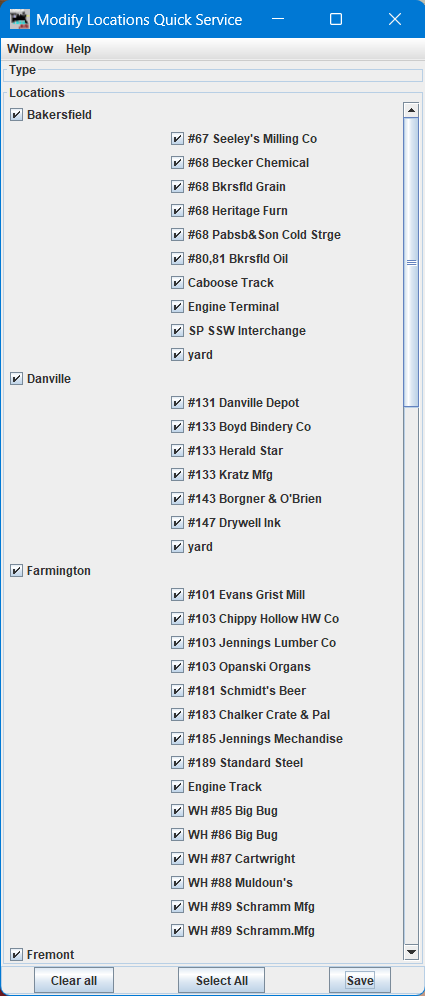
A new window called Modify Locations and Tracks by Quick Service should appear which will allow you to modify your tracks for quick service. Only tracks enabled for quick service are reused based on train timing when using the On Time mode. If a track isn't configured for quick service, a car spotted there during the build isn't available for other trains until the train delivering the car is terminated.
Press the "Select All" button followed by "Save".